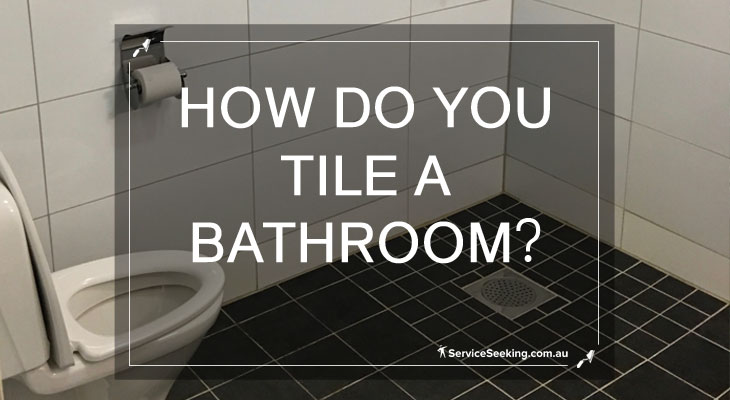
How do You Tile a Bathroom?
Bathroom tiling installation starts from the bathroom floor. Learn how the tiling work goes. Find the best tiler for the bathroom tiling job. Read more.
Among the works that can be done in your home, bathroom tiling is one of those that require precision and special skills. Of course, this, just like anything else, can be done as a DIY project, but even the most skilled DIY lovers often choose a professional to do their bathroom tile installation.
The only reason against hiring a professional tiler is money. However, if you take into consideration that the badly done tiling work can end up costing you double, you can be sure that the cost of tiling done by a pro is worth it.
However, even if you want to hire a professional, it is good that you learn how the bathroom tile installation is done. In that way, you will know how the cost of tiling is calculated. Still, ask for several quotes from professional tilers and get an idea about the price of your project.
How Do I Install Bathroom Floor Tile?
Here are several steps to bathroom tile installation:
- Floor measuring
You need to be precise about the floor measurements. That is how you will calculate how many bathroom tiles you need, as well as the other materials like grout and adhesives. You should purchase all the bathroom floor tiles you want to use for your bathroom in advance.
Better be on the safe side and buy some more than necessary because they can break, or you can be forced to cut some of them to fit them into corners. If you want to buy more tiles later, maybe they won’t have the same kind, and you’ll end up with mismatched bathroom tiling. - Installing underlayment
The easier tiling work is done when the underlayment is positioned well. This can be a cement backer board. One of the latest trends is to use a special kind of membrane instead of the backer board. These membranes are waterproof. Whatever you choose, it needs to be tailored to the surface of your bathroom and positioned firmly.
- Planning tile positions
Use the bathroom tiles and the spacers to see how the tiles will match the floor. This is your opportunity to see how the tiles will fit and where you can position them. Also, this is when you need to cut the tiles so you can work your way around the toilet seat and other difficult areas. - Apply the thinset
Remove the tiles that you’ve positioned and mix the mortar, thinset or adhesives that you plan on using. Look at the instructions that are on the packaging and try to follow them as precisely as possible. With a properly sized notched trowel, make sure that the layer is nice and even. - Place the tiles back
Just like you planned before placing the adhesive, put the tiles back. Go from the corners and edges to the middle, using spacers for help. When you place all those bathroom floor tiles, leave the floor tiling until tomorrow. More precisely, wait another 24 hours. That will allow for the thinset to dry. - Grout the tiles
Use the grout float to apply the grout in the area between the bathroom floor tiles. Before applying the grout, make sure you have removed all the tile spacers. Remove the excess of the grout and polish your new bathroom tiling.
How Do You Install Wall Tiles?
When it comes to your wall, bathroom tile installation is a bit different but basically the same. You should start from the lower part and work your way up. However, this is how you start:
- Determine the datum line
Use one bathroom tile and place it against the wall so that it touches the floor. Place a mark on the wall 20 mm below the top line of the tile. Draw that line across the entire bathroom wall. This is your datum line for bathroom tiling work. - Attach a measurement plank
Use a long, thin plank and position it so that its top edge is in line with your datum line. Attach it to the wall in the middle and in the ends. - Plan the tile position
Since you cannot place all the bathroom tiles on your bathroom walls without gluing them there, you will need to plan ahead. Place a bathroom tile on the plank and mark the tile width on the wall. Add the width of the tile spacer, as well. Mark all the tiles from the edge so that you can see if you will have to cut some tiles to fit them. - Spread the glue
Mix the glue according to the manufacturer’s instructions. It should have a pasty consistency. It is important that you get the glue right because. Otherwise, your tile may start falling off. - Add tiles row-by-row
Apply a bit of adhesive on a tile and then press the bottom edge first, levelling it against the plank. Slowly press the bathroom tile against the wall and remove the excess glue that may come out around the edges. Lay the second tile next to the first one and separate them by tile spacers.
Go from the bottom and place tiles row-by-row. Lastly, place the bathroom tiles that are in difficult areas, on the edges and similar. When you are done, apply the grout.
These steps cover only the basic tiling work. Some tilers insist on waterproofing the surface before the bathroom tile installation, while others don’t include that in their regular price. You definitely want that done, so don’t forget to ask for it.
You have to be careful about what your cost of tiling includes. Different tilers will include different things, and that may cause unexpected costs later.
Therefore, make sure that you get what you need for your bathroom tile ideas and bathroom tile installation. Contact as many tilers as possible and ask them to give you quotes for your project.
With Service Seeking, that is easy. Ask for quotes from tilers, and they will just come rolling your way. You don’t have to overpay for your tiling services ever again.
Looking for reliable, professional tilers in your area? Check out ServiceSeeking.com.au’s highest-rated tilers in these major cities: