Tips on timber floor sanding and polishing
Cleaning isn't enough for your timber floor to remain beautiful. You should also consider floor sanding and polishing to keep it looking its best.
Aside from keeping your timber flooring clean, floor sanding and polishing are also essential if you want to keep it dazzling. However, these procedures can be quite tricky for those who have not done it before. If you’re thinking of sanding or polishing your timber floor by yourself, here are some tips that can help you get it right.
Timber floor sanding
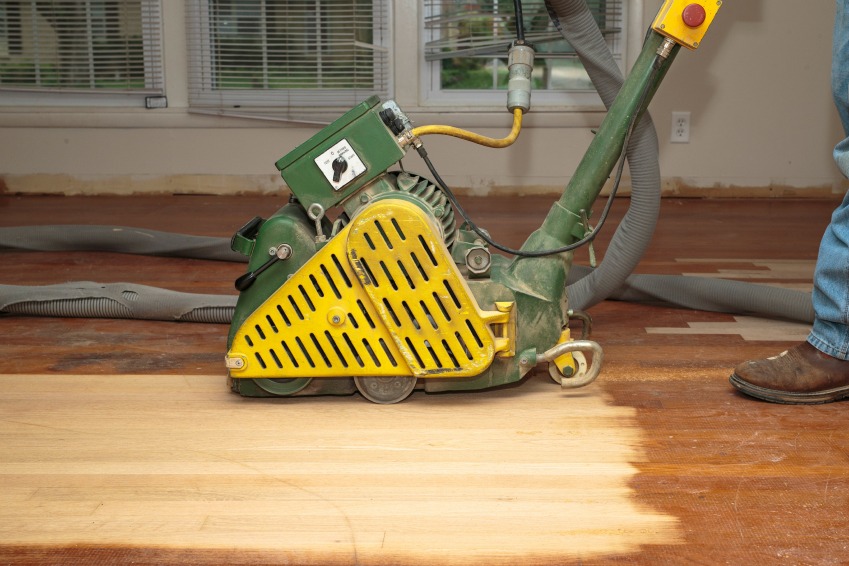
- You’ll need a floor sander (also called a drum sander) and an edge sander for this task. You can easily get these tools, as well as sandpaper discs, from most hire shops. Using a floor sander, however, may require you to wear ear protection as it’s loud equipment.
- To get a smooth finish, you’ll need to sand your timber floor four times. Use 40-grit sanding discs for the first round of floor sanding. Then, gradually move to using 60, 80, and 120-grit discs.
- Once the sanding disc touches the floor, make sure to start moving the drum sander forward. Do this slowly, and never turn the floor sander while the disc is still touching the floor—move forward only.
- You may find timber oils clogging the sandpaper. To prevent this from happening, sprinkle kerosene periodically on the floor in front of you.
- Don’t forget to check for nail holes when you’re about to change sandpaper from 40 to 60 grit. If you see holes, make sure to fill them with timber putty and let it set for 30 minutes before continuing sanding. The timber putty should match the colour of your floor.
- A drum sander won’t be able to reach the edges of your timber floor. This is where the edge sander comes in handy. 60-grit sandpaper discs are typically recommended for this, followed up with 80-grit discs to ensure a smooth finish.
Timber floor polishing
- There are two types of floor finishes that are commonly used on timber floors: polyurethane floor finishes and oil-based resins. When using a polyurethane finish, make sure to wear protective gloves and eyewear. Also, use a respiratory device because the fumes of polyurethanes are highly toxic. Once they dry, though, they’re totally safe. Meanwhile, oil-based resins are less hard-wearing than polyurethanes, but they don’t pose as much health risks.
- Floor finishes also come in matte, semi-glossy, or glossy textures. If you’re polishing a high-traffic floor, it would be best not to get a high gloss finish as it tends to highlight scratches so easily.
- Before polishing your floor, make sure to wipe the surface of the floor with cloth and methylated spirits.
- Use a roller to ensure an even coat and a brush when applying the coat around the edges of your timber floor.
- Let the first coat of polish dry for eight hours. Then, lightly sand your timber floor with 120 grit sandpaper and make sure to remove sanding dust residue before applying the second coat. The second coat typically dries overnight. You may apply a third coat if needed.
Sanding and polishing timber floors by yourself can save you money, but don’t forget to take the costs of equipment and safety gear rental into account. If you want guaranteed, high-quality results, it’s still best to leave the task to floor sanding and polishing experts.