Customer
The colour you paint your ceiling sets the pace for the other paint jobs you will do inside the house. Hire a professional on ServiceSeeking.com.au to get the ceiling right, and the rest of the house should be easy for you!
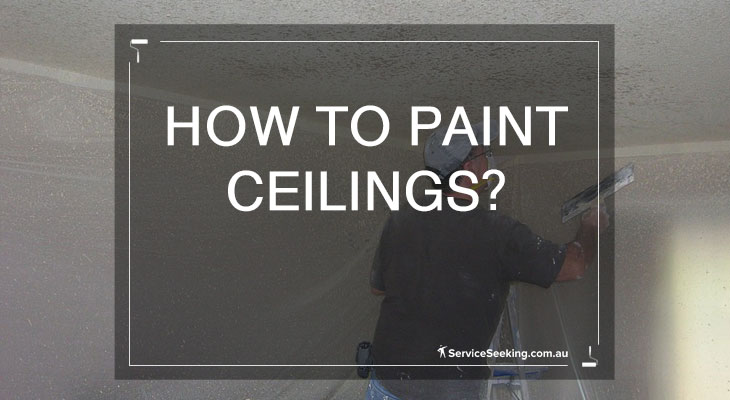
The overall outlook and ambience of your house will be determined by the colour you decide to paint your ceiling. Although the walls have eye-level colour and decoration noticeability, the ceiling will set the tone for the vibrancy of a room. Ceilings are more challenging to paint compared to walls, but if you give it a discerning touch, the project will be well worth the hassle.
Painting a ceiling is not a job for the rookie. You need to get professionals to do what they do best. Getting your paint job done by a qualified and reliable tradesman will give you value for money. ServiceSeeking.com.au is a reliable database where you can get local painters who are ready to provide you with top-notch house painting services. What’s more, getting quotes from them is just a few clicks away. Try them today!
Follow the following steps to paint your ceiling.
1. Buy the lambswool roller with an extension pole
The best tool to use for new painting the celeb is a thick nap roller, which comes with an extended pole. You could use a paintbrush, but it will produce a messy job. For a high-quality paint job, use a lambswool paint roller that ensures a smooth layer of paint. You do not want your paint job to come out with bumps and bubbles. You can buy the lambswool roller from the local paint supplies store.
2. Choose paint manufactured specifically for ceilings
The recommended paint for ceilings is the flat paint. This paint is great because it has a smooth viscosity. The paint also hides any imperfections on the ceiling. To make your ceiling appear bright and vibrant, you can choose bright colours such as white. When selecting the colour, ensure that the shade of white you choose can complement the colours on the walls.
3. Remove the furniture and cover the floor
Remember that you will be painting the ceiling directly over the floor. You don’t want the paint tool to splatter all over your furniture. Before you can start painting, ensure you’ve removed all the things you don’t want the paint to splatter on. Before you can start painting, make sure you’ve removed all the furniture from under the ceiling. To protect your flow from the paint drips, you can use plastic sheeting or drop cloth to cover the floor. You will also need to protect the windows, floorboards, and window sills with plastic sheeting.
If you live in an apartment, or you have heavy and large furniture such as tables, beds, and coaches, use plastic to drape all the furniture to protect it from the dripping paint.
4. Mask the trim using a painter’s tape
You can protect your wall from accidental paint by using painter's tape to cover the area beneath the trim. If your wall does not have a trim, make sure you stick the painter’s tape directly to the corner between the wall and the ceiling. If you’re going to paint the walls after you’ve done the ceiling, you should still mask the trim to preserve the beautiful finish of the ceiling paint job.
5. Apply stain-blocking primer before you paint
As mentioned before, most ceilings are painted in different bright colours, such as white. Priming the ceiling using a stain-blocking primer is important because it will help hide the imperfections on the ceiling. The primer will also help the paint to adhere better.
Pour the stain-blocking primer onto a tray and then dip the roller on it. For the best results, glide the roller on the ceiling until the whole area is covered in primer.
Ensure that the stain-blocking primer covers stains such as watermarks, nicotine marks, smoke, and any bleeding that might have occurred from the previous paint. Give the stem-blocking primer at least 30 minutes to dry before you proceed with painting.
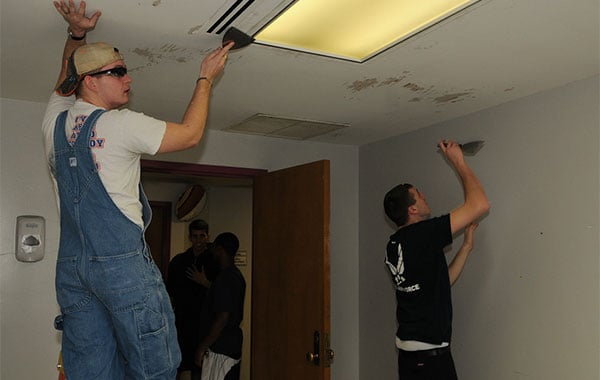
Image source: afdw.af.mil
6. Use an angled brush to cut in the corners if you’re not using tape
If you choose not to use the painter’s tape to cover the area where the trim meets the wall, you can use an angled brush to cut on the edge of the ceiling. The brush helps you cover the area more accurately without the risk of getting paint on the wall. Cut in the entire area of the ceiling before you begin to paint the rest of the ceiling using a roller.
7. Dip your roller in a tray with paint
Never dip the entire roller head into the paint, as it will become submerged in paint. Pour about 2 cups of paint into the tray and then graze the roller across the surface of the tray 3 to 4 times until the roller is coated in paint.
8. Adopt a zigzag line pattern when painting with your roller
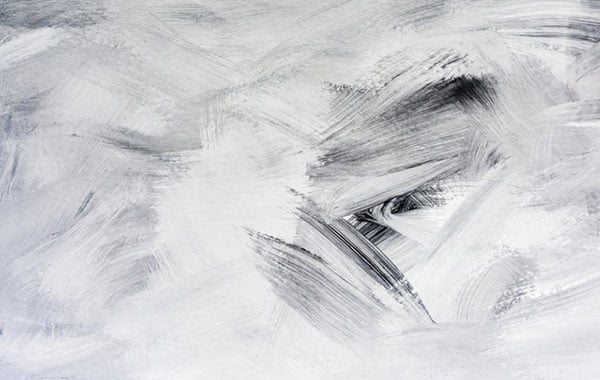
Image source: Pexels
Dip the roller into the paint tray and apply the paint evenly, ensuring that the excess paint on the roller is driven onto the surface. As you paint, adopt the zigzag pattern (“W” or “V”). Maintain an even pressure on the roller as you paint across the ceiling to avoid getting uneven texture or blots.
You need to use a ladder if you can’t reach all the corners of the ceiling when standing on the floor. Ensure that you paint the entire ceiling before the cut-in line dries up. This prevents a line from forming between the edge and the rest of the ceiling.
9. Cover the whole ceiling in zigzag lines of paint
After you are done with one section, paint the next one in zigzag lines, overlapping each line with the other. At this point, do not worry about a uniform look as long as the entire ceiling is painted in zigzag lines.
10. Paint over the zigzags with a straight line
Paint over the zigzag lines using a straight line. Ensure the line is about 1 inch from the previous zigzag line to avoid creating broad lines forming as the paint dries. This helps you to have a uniform colour and texture on your ceiling. Allow the paint to dry overnight. If you have applied a coat of primer, you do not need to apply a second coat of paint.
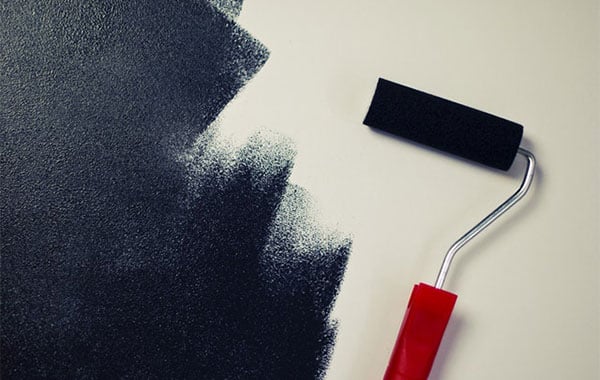
Image source: Pexels
11. Clean up and wash your supplies
Once you’re done with your painting job, it is time to clean up. Remove the painter’s tape from the edges of the wall, and throw away the waste before you put it down on the floor. Wash the roller in hot, soapy water and remove the drop clothes that had been used to cover the furniture and the floor of the room whose ceiling you were painting.