A guide to restaining decking
Timber decks have to be restained every now and then to preserve its strength and to keep it looking good. Here's a handy guide on restaining decking.
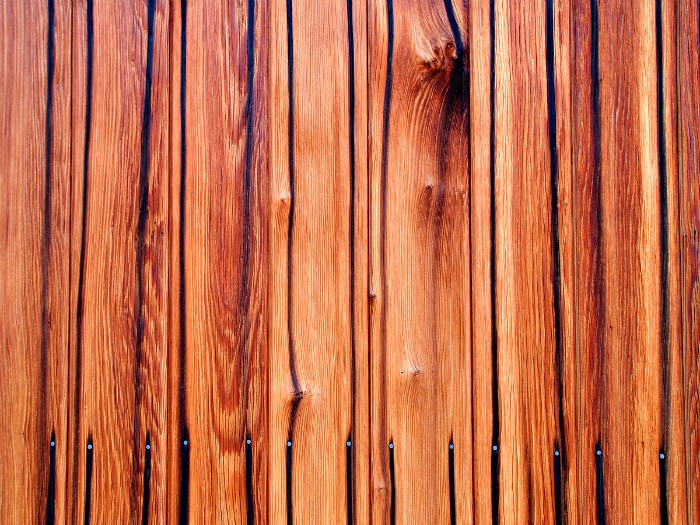
Newly stained decks look fantastic. Sadly, though, timber is a material that easily shows wear and tear, whether from exposure to the weather or just having people walking around it as they enjoy it over the years. Timber decks have to be restained every now and then to preserve their strength and to keep it looking good.
How do you restain your decking?
Before you apply any staining substances to your decking, you should clean it thoroughly first. A properly cleaned deck will make your staining product last much longer. After enough prep work, you then have to apply thin coats of stain to your deck. Applying multiple thin coats ensures that your deck is evenly stained.
Surface preparation rules
Preparing the surface is the first and most important step in the whole process. The final coat is only as good as the surface preparation allows it to be. There are a few important steps involved:
* First, inspect the deck for any timber that’s broken or rotten, then repair or replace anything that doesn’t pass the test.
* Next, work out what finish was last used and how you need to approach it. If it had a clear varnish on, you’ll have to remove it all before you can apply a new coat or two of stain. If you don’t need to do this, you can go straight to the cleaning part.
* Now you can start cleaning. This is crucial for getting a finish you can take pride in. There are special products for cleaning wood from hardware stores or paint suppliers. You'll need one that contains sodium percarbonate; look for it when comparing brands and prices. Another excellent solution is to add two cups of detergent to a bucket of water and then slather the solution over the whole surface using a stiff brush. Let the suds stay there for 15 minutes or thereabouts, then apply more of the solution and scrub the whole deck vigorously. Rinse it all off thoroughly and let dry.
* At this stage, check whether you need to apply a wood brightener before you start staining. Decking that appears very dry or dull may need this. A brightener removes any discolouration from rust or other things that leave marks and can bring dried-out timber back to its original glory. Take care when using wood brighteners as they contain chemicals, and be sure to rinse any garden plants nearby that could have been splashed.
* Finally, you get to apply the stain. To make sure it penetrates the timber completely, use a brush to apply it. Brush with the grain and aim to cover the full length of just one or two boards at a time. This helps to prevent overlapping any parts of it. A thin coat is better than one that is too thick. Any residue left on the surface will flake off once it is dry. Two thinner coats of stain get better results than a single thicker one and is worth the extra time it takes because they last longer. Once the first coat is dry, make the second coat thinner because it won't be absorbed as much.
If you don’t have the time or expertise to do the job, or if your deck is too big to be a DIY project, consider finding a local expert in exterior timber maintenance. Simply post a job and wait for our expert painters to give you free quotes.